Tack and equipment play an important role in riding and training horses. Knowing the options and making the right choices can make a huge difference in your riding. The four natural aids of the rider that allow communication between horse and rider are the seat, legs, hands and voice. The reins are an extension of your hand and the connection with your horse.
Reins are the conduit between the rider’s hands and the horse’s mouth, and they can play a critical role in communication. Reins come in a variety of types and styles and are made of many different materials. Depending on the discipline that you ride (English, Western and the sub-disciplines within), the activities you do, your ability level, the training level of your horse and your personal preference, you’ll want to choose the reins that fit your needs best.
Different Disciplines
Usually when we think of riding disciplines, we think English or Western. But within each basic discipline, there are many sub-disciplines—an English rider may be doing dressage, hunt seat (jumping), endurance or saddle seat. A Western rider may be cutting, barrel racing, roping, reining or pleasure riding.
Reins are generally designed and constructed to fit the specific riding activity you are doing at the moment, so you may need more than one set of reins. For instance, if you are training for barrel racing, the reins you use may be totally useless or even counterproductive for trail riding. The length of reins, the materials they are made of, special design features, the quality and durability all play a role in what type of rein suits you best.
English tack has been around for thousands of years longer than Western tack and we see much more standardization in reins, in terms of length, design and the materials of which they are made. English reins often come with the bridle and are made to match the headstall. English reins usually attach to the bit the same way and are a closed-loop formed with two reins attached in the center with a buckle (hence the term, “riding on the buckle,” which means the rider has made the reins completely loose and is only holding onto the buckle at the center.
While most English reins are made of leather, depending on the type of riding you do, you may choose a different material. Rubber coated reins are popular on the racetrack and for cross-country jumping— they offer better grip for fast and furious riding in variable weather conditions. BioThane® (a synthetic leather substitute) is another popular material for both reins and headstalls and is particularly useful in climates where humidity, rain and sweat are a problem. Reins made from webbing are common and are easy to care for and affordable.
English reins are usually laced or braided, for better grip by the rider. Since it is common for English horses to be ridden on direct contact, sometimes a lot of contact, the reins are made for gripping. Rainbow reins have different colors between the rein grips to help young or novice riders know where to place their hands. Since many English horses are ridden in running martingales, often English reins will have “rein stops” that prevent the rings of the martingale from sliding up the rein too high.
The standard length of an English rein is 54 inches—you want just enough length that when you hold the buckle, the horse can completely relax and lower its head without coming to contact. English reins also come in pony size (48”), cob size (“cob” is a term used for a small horse, and cob reins are 52”) or large-horse size for really big/long-necked horses (60” length). Getting the length of your reins right is important for your horse’s comfort but most horses will do well in a standard length.
Western tack has more variety and less tradition than English. With cattle ranching at its roots, a lot of Western tack is designed for working purposes. However, modern sub-disciplines such as speed events, reining, Western pleasure, trail obstacles, mounted shooting and Western dressage are growing in popularity, with new sub-disciplines popping up regularly. Each activity has specific needs for reins.
With a greater variety of riding activities, and with less standardization and tradition than it’s English counterpart, Western reins come in many shapes, sizes and configurations. In the working Western tradition, the reins would progress along with the horse’s training level, from riding 2-handed on a green-horse, to riding 1-handed with little or no contact on the finished horse.
Traditional Western Reins
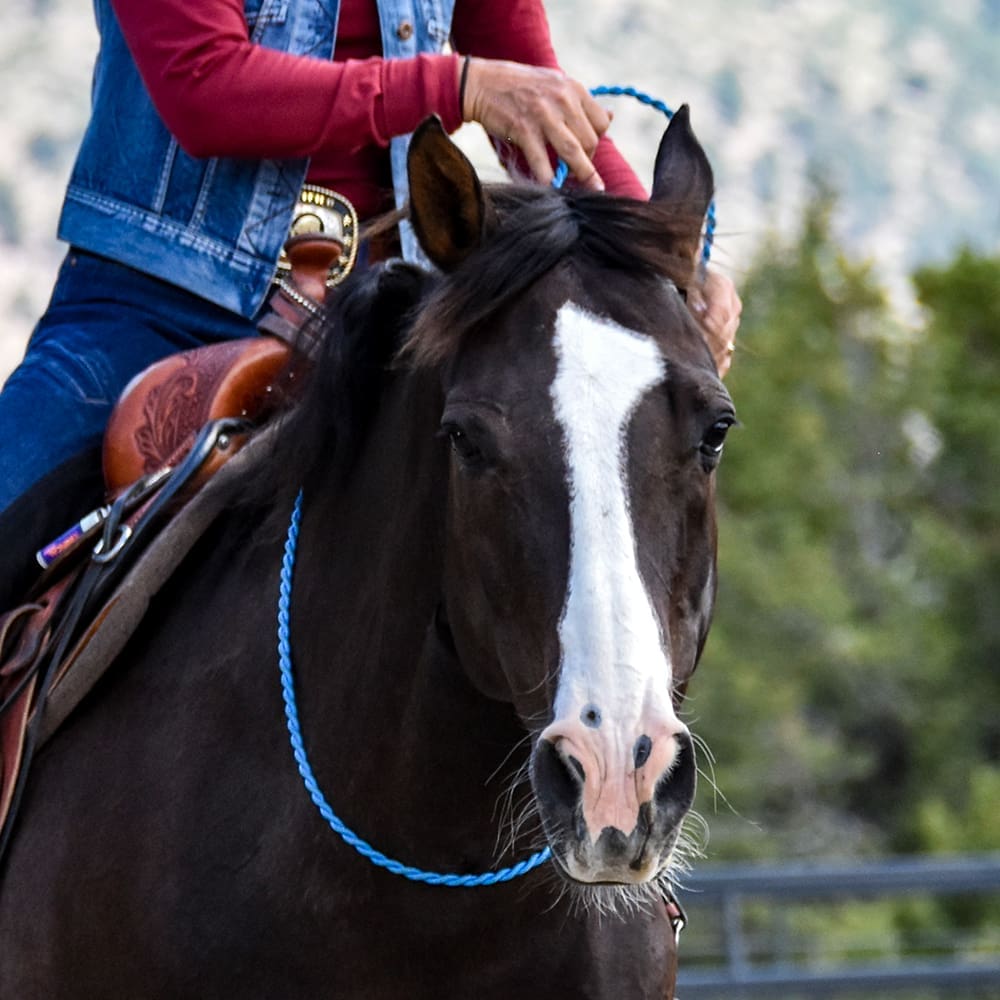
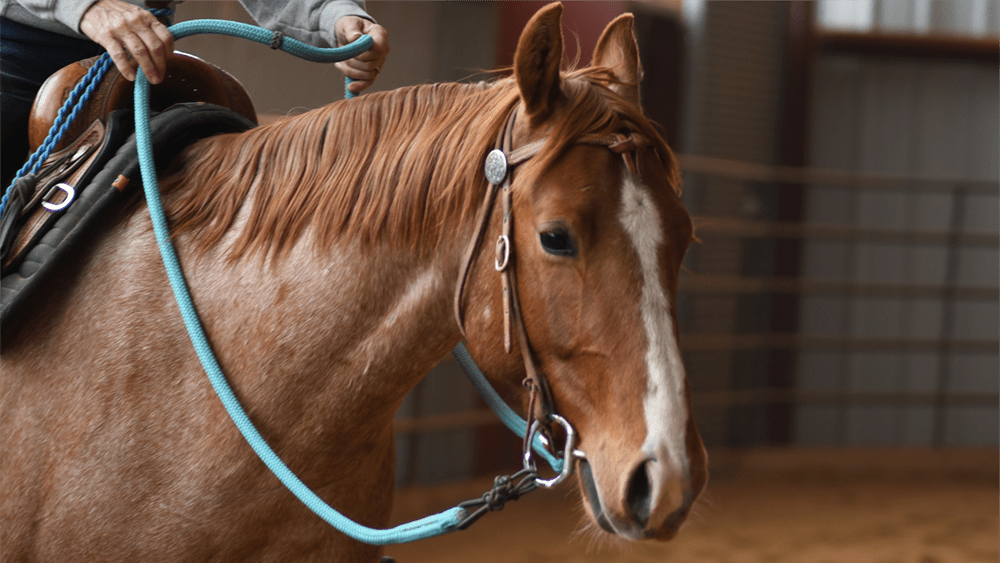
- Mecate Reins are traditionally made of a long, braided horsehair rope, but today they are often made of marine rope. The bristly texture of horsehair reins is good for both teaching the horse to neck rein and giving the rider a good grip on the reins when the riding gets rough. The mecate rein is 22-26 feet long and designed for 2-handed riding with either a snaffle bit or the bosal. The mecate is tied onto the bit in a specific manner, depending on which bridle you are using, to give a closed-loop rein, with a long tail coming off the left side of the bit or bosal, to use as a lead rope when you jump on and off the green horse (the finished horse would ground tie when you need to get off). Mecate reins are often attached to the snaffle bit with slobber straps, which protect the reins and help the reins drape, but can sometimes be bulky and cumbersome. The mecate rein has experienced a surge of popularity in the past 20 years, with the trend of natural horsemanship, because they offer a classic Western look. However, if you are not using the lead rope (mecate), it can be a lot of rope to manage. The closed-loop, yacht rope rein like I designed is easier to use and less bulky.
- Split Reins are the training rein of the Western horse and the most ubiquitous, due to their versatility and usefulness at every training level. The highest quality split reins are made of heavy harness leather and are 7-8 feet long, attaching to the bit with a water tie (like a thin slobber strap) that protects the rein and offers a soft feel of the horse’s mouth. For the uninitiated, split reins are complicated to use. There are a variety of ways to hold split reins, one-handed or two-handed, depending on the horse’s training level and the activity of the rider. Split reins should be long, with a weighted on one or both ends, to help balance the reins so they come to a drape fast at the bit-end and hang quietly on the tail end. When split reins are held improperly, they can easily fall to the ground if dropped and they are complicated to shorten and lengthen, therefore they are not the best choice for children and novice riders.
- Romal Reins are the finished rein of the Western horse and typically made of braided rawhide and used with a high-ported, long-shanked bit, and a horse that is so well trained that the rider’s hand will barely move. The romal is a closed loop rein with a long tail that has a quirt or popper at the end (to aid in moving cattle and in training the horse). The rider holds the reins in one hand (traditionally the left hand), with no fingers in between the reins, and with the other hand holding the romal. The reins attach to the bit with a rawhide or leather loop, but rein-chains may also be used to help the reins drape faster.
Food for Thought on Reins
When it comes to rein choice, there are many styles and considerations for the rider. The material the reins are made of is a matter of function, aesthetics, and personal preference. The length, width, weight and feel of the reins relate to the size of the horse and rider, how they are used and the intangible values of the rider.
To me, ease-of-use is often the most important consideration in rein choice, particularly for the novice rider. Balancing on top of a thousand-pound moving animal and controlling the forward motion is complicated enough. The reins should be easy to hold in your hands, easy to keep even, and easy to shorten/lengthen. Safety is always a consideration for both horse and rider. Reins that stay on the horse’s neck when inadvertently dropped by the rider and reins that have a breakaway feature (particularly when synthetic materials are used), improve safety for both.
The most specialized reins, designed for high performance in a specific sub-discipline, like team roping or polo, are also designed for ease-of-use and functionality. But what is functional when running at high speed, riding one-handed, swinging a lariat or mallet under rapidly changing circumstances, may not be functional for taking a leisurely trail ride on an old, semi-retired horse.
Reins may be made of natural or synthetic materials. Leather is probably the most common choice, for its feel and give (breakaway), but the range in leather quality is huge. To me, tack is a critical component of performance, so I always want the highest quality Hermann Oak harness leather. The higher the quality of the leather, the heavier it is, the better the feel and the longer it lasts.
BioThane® is a popular leather substitute used for bridles and reins. It’s a coated polyester webbing that has a similar feel and look to leather and also comes in bright colors. It’s waterproof and more durable than leather in corrosive environments (from humidity, sweat, salt water, etc.). It wipes clean and is more hygienic for horses. It’s often used in racing and endurance riding and for some riders, it carries the bonus of being a vegan product.
Most reins come in a standard length, specific to the activity they were designed for and would work for averaged-sized horses doing that activity, but may not accommodate an exceptionally long-necked horse. If the reins are too short, the horse pays the price with too much pressure on his mouth and a hollowed out frame. I like my reins to be long enough for the horse to stretch his nose to the ground.
Weight and balance are important for reins—how they feel in your hands and how quickly they offer a release of pressure to the horse. Many reins come in different widths. For instance, split reins can be a half-inch to a full inch wide. What feels best in your hands depends on the size of your hands and how it feels when you close your fingers on the reins. I have small hands but half-inch feels too narrow and a 5/8th inch rein feels just right, while one inch is hard for me to close my fingers on and still have a soft feel.
I ride my bridle horses in split reins, but I prefer a closed-loop, 9-10-foot, marine rope rein for green horses or when I am teaching from horseback. I designed my closed-loop, cross-discipline rope reins for comfort in your hands (soft feel), ease of use and safety. My rope reins are truly my best product, as many users will attest. I designed them with the novice rider in mind (they’re easy to shorten and lengthen and have a convenient center marker so you always know where you reins are) but I find their ease of use is appreciated by expert riders as well. Marine rope reins may not be perfect for every sub-discipline, but novice and recreational riders love them!
Rein Handling Do’s and Don’ts
Do:
- Make sure the reins (and/or headstall) have a breakaway component for your horse’s safety.
- Make sure riders know how and when to shorten and lengthen reins.
- Make sure riders know the appropriate length to hold the reins and how to hold the reins properly.
- Always give the rider the means to control the horse (the reins), even when the rider is being led.
- Lead the horse by looping the reins around his throat latch (or use a halter under the bridle), not by pulling on the bit.
Do Not:
- Wrap reins or ropes around your hand or any body part. Never attach yourself to a horse or saddle with a rope or rein.
- Allow closed-loop reins to lay on the ground or in front of a horse to prevent entanglement.
- Lead the horse by pulling on the reins. Use a halter to teach proper leading manners.
- Hold the horse by clamping two reins together behind his jaw. This hurts his mouth and you cannot hold him still this way. Teach your horse to stand still with groundwork.
- Tie the horse with reins. This will hurt his mouth and break your reins. Keep a halter on or use a “get down rope” around the neck if you need to get off and tie up frequently.
