The Trail Rider ~ January/February 2015
RIDE RIGHT WITH JULIE GOODNIGHT
Winter Workouts
Hone your horse’s manners and your leadership skills now for a better ride in the spring with these tips from top trainer/clinician Julie Goodnight.
By Heidi Melocco with Julie Goodnight
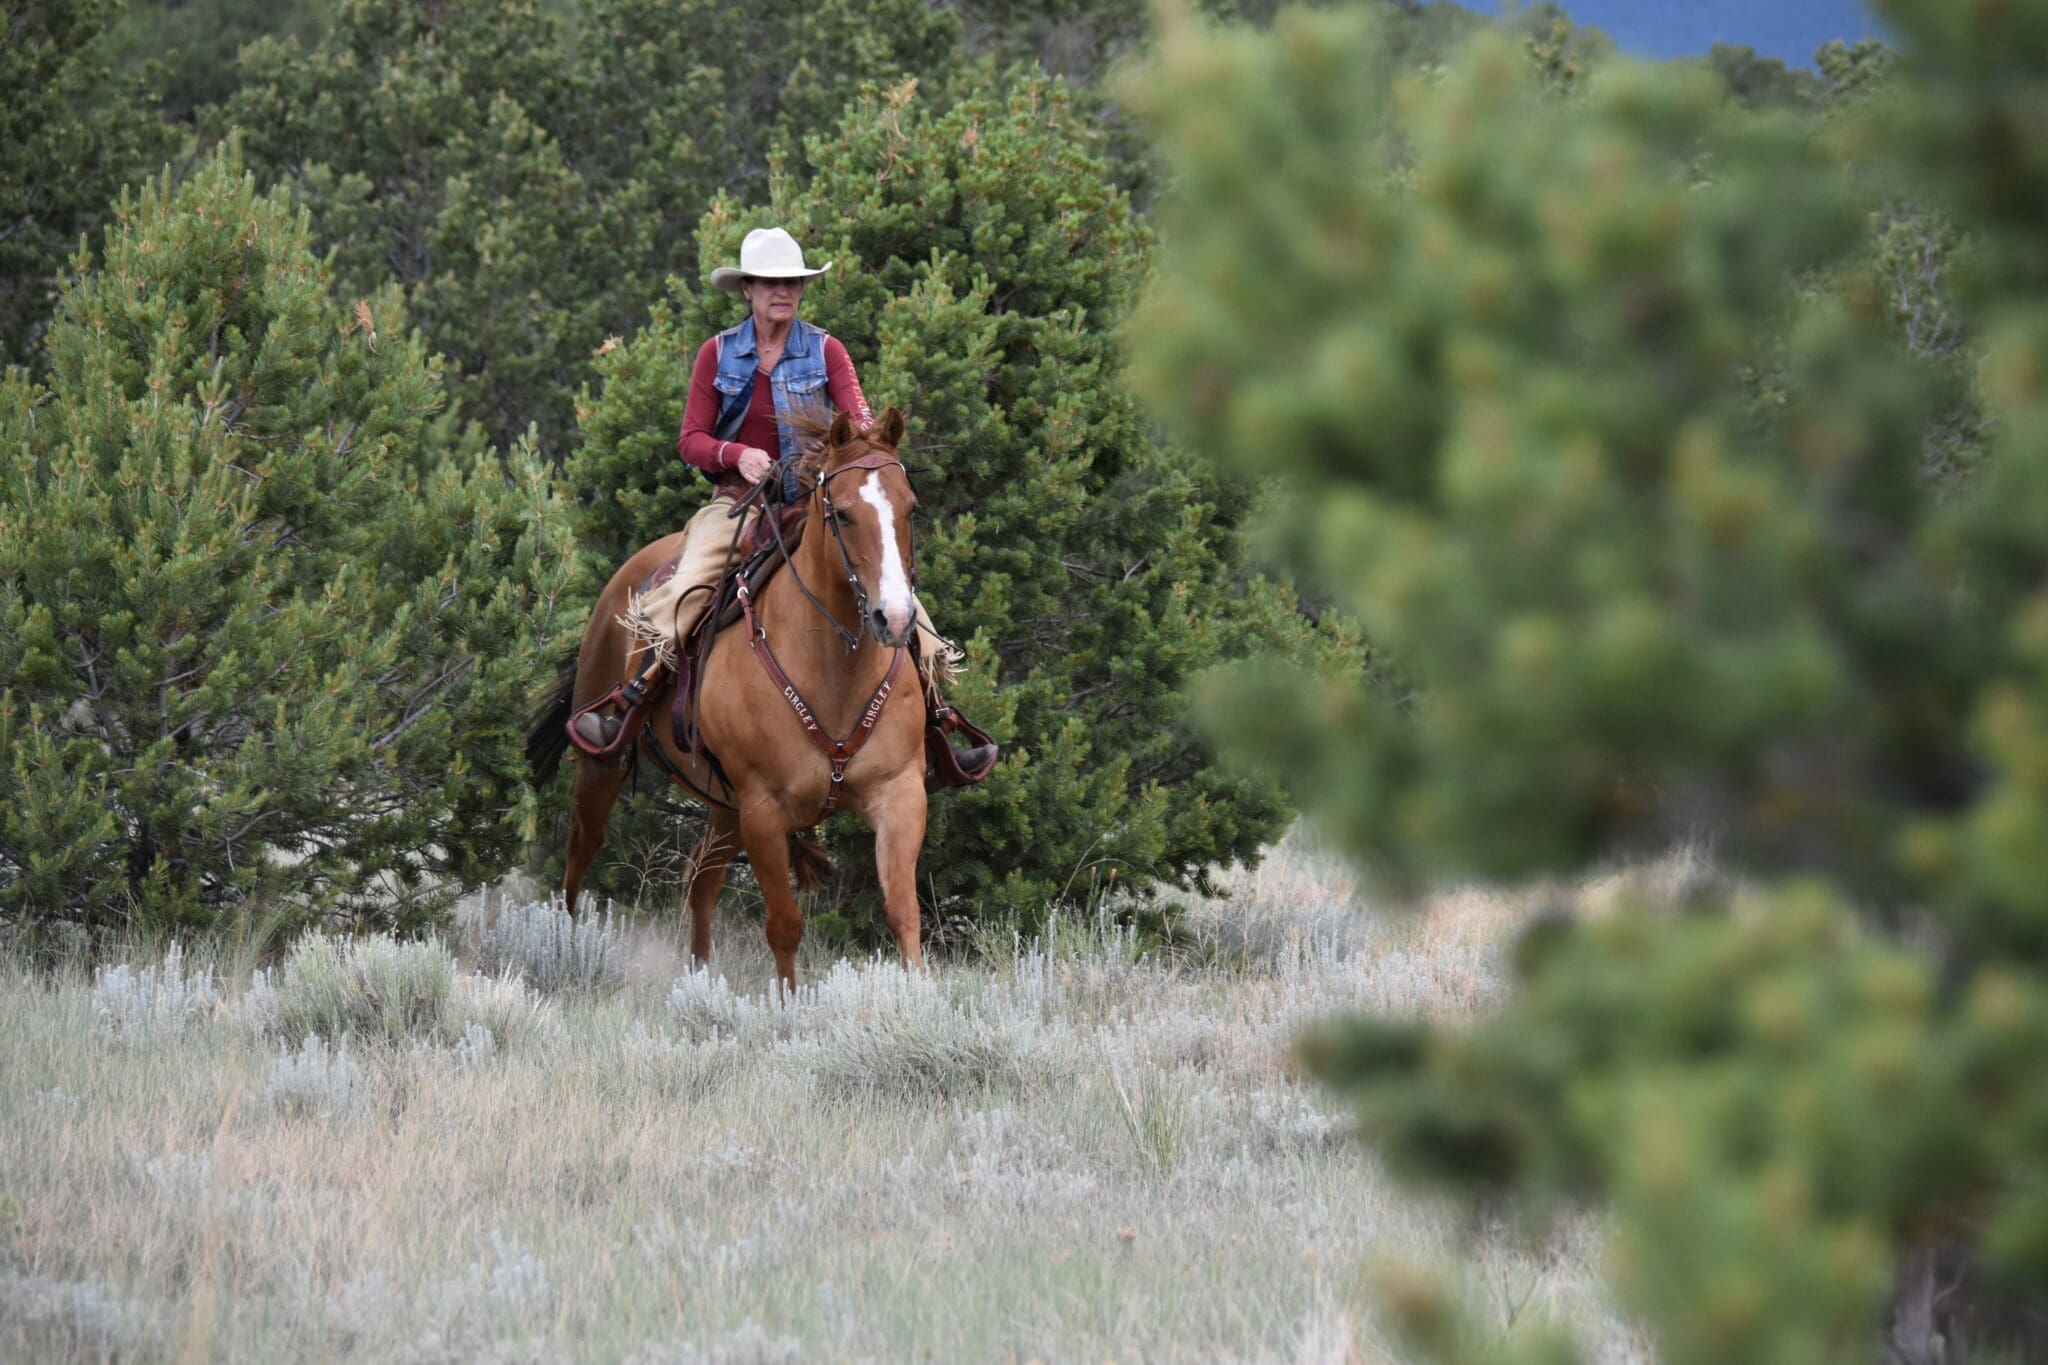
Unless you’re in the sunbelt, winter may mean less ride time and more turnout for your horse. Until the ground thaws and is safe for riding, what can you do to keep your horse focused on you?
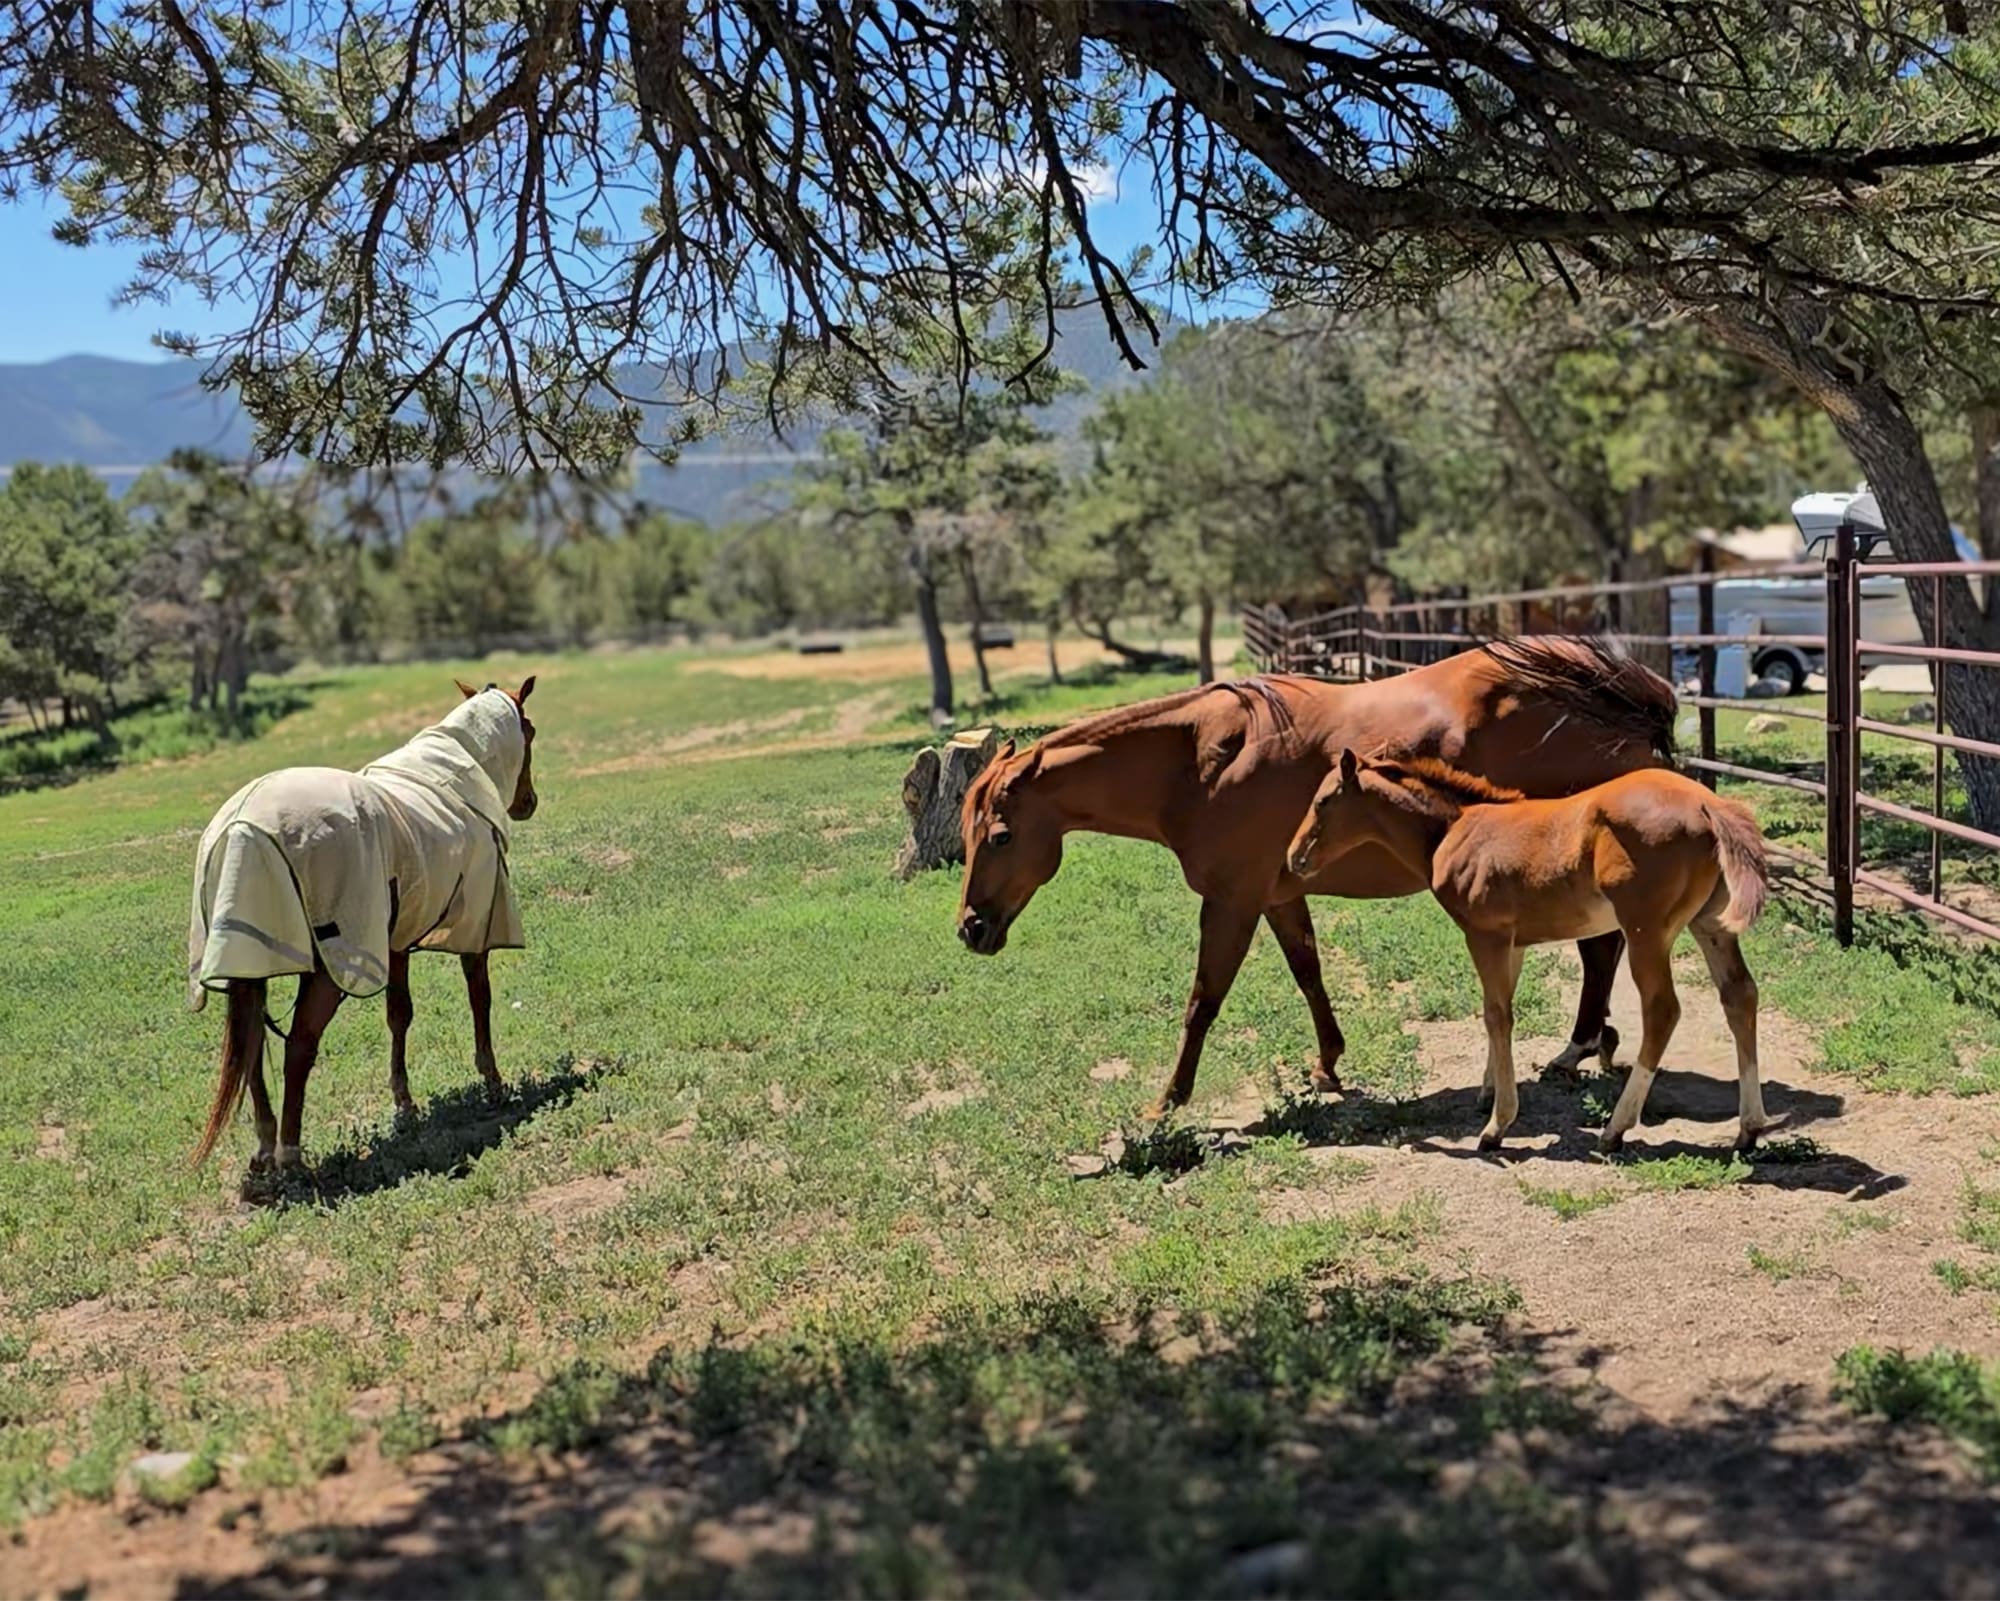
When horses are turned out for the winter—they may quickly revert to a herd mentality. In that mode, horses follow the herd’s cues and aren’t tuned in to your leadership. Make sure to spend quality time with your horse this winter so that you won’t have to start over in the spring.
“If, in the winter, you only see your horse at feeding time –or when you step in to rub on him and bring him treats— and he’s otherwise turned out with buddies, you may be undermining instead of boosting your leadership,” says top trainer/clinician Julie Goodnight. “It’s not that you’re never going to hug on your horse or love on him, but respect has to come first and you need think about how you’re interacting with your horse every time you’re near him.”
How long does it take a horse to be turned out and become part of the big herd instead of part of your horse-and-human herd of two? Goodnight says that as horses approach middle age, they may become more herd-bound, but individual horses react differently with more or less time away from work.
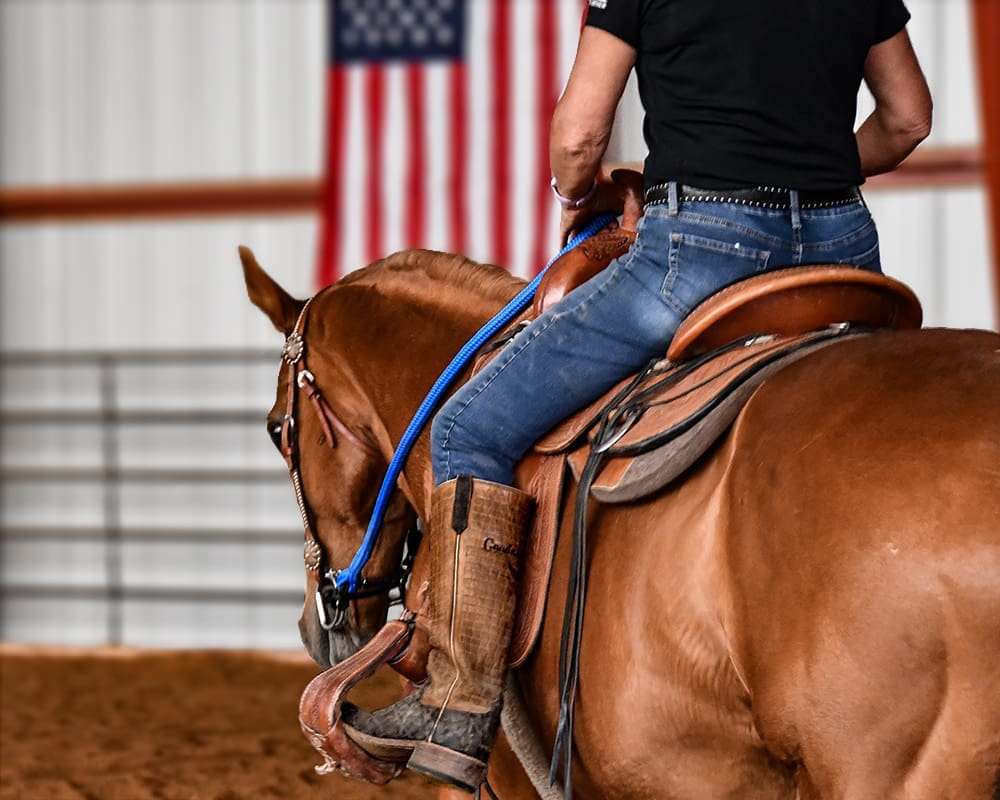
Groundwork done well all year long can help you keep your horse looking to you for leadership. Your horse will continue (or become) a respectful partner who is looking for your leadership and permission.
You can do groundwork in a small space—in your barnyard or even inside the barn. You only need a small area that isn’t slippery and that is fairly level. Outfit your horse in a rope halter and a long training lead with a rope-to-rope connection at the halter.
You can always do groundwork and you and your horse will never outgrow it—just progress to more challenging skills. Over the winter, do these exercises as often as possible. Once a day is ideal, but once a week or once a month is much better than not working with your horse in the cold season.
Here, Goodnight gives you three exercises to work on throughout the winter. Plus, she’ll provide a rope-halter tying tip that kids can practice inside.
Step 1. Body Awareness
Help your horse tune in to your body cues and sign language and begin to have more deference for your leadership—and your personal space. A horse’s spatial awareness is acute—he has a greater appreciation for sign language and body language than humans do. It’s your job to mind your position and body language and make sure that you’re aware of your posture and consistent cues.
Define your personal space every time you are near your horse. Stretch your arms out around you in all directions. That is your space and space your horse should not enter without permission. Free yourself of the need to be in your horse’s space all the time. That’s beneficial for you but not helpful for your relationship with your horse. If you enter your horse’s space all the time—kissing and hugging—your horse will not have a clear idea about your personal boundaries. While you sometimes want to love on your horse, start with a clear boundary and only allow that closeness after you have set up a clear expectation of his space and yours.
Practice your body postures. Away from your horse and in front of a mirror, practice your submissive and more aggressive postures. If your shoulders are rounded and your toes are pointed away, you’ll appear unthreatening to your horse. If your shoulders are up, your chest is puffed and your chin is high, and you look straight at your horse, he will take that as an aggressive or admonishing posture.
Think about when you’ll use each posture with your horse. If you want your horse to have a break and not be reactive to your every move, you want your posture to be less threatening. Roll your shoulders forward and divert your eyes to take the pressure off your horse—or to help your horse know that you’re not an aggressor if you are trying to catch him in the pasture. When you get ready to move with your horse, you’ll want to appear active and confident.
No matter what posture you adopt, know when and how you are moving.
Step 2. Stand Still
When you ride in the spring, you want to know that your horse will stand still for mounting, you also want your horse to stand still if you need to hop off and help another rider. Standing still is beneficial for many trail applications and learning to stand still reminds your horse to focus on you.
Your horse needs to be focused on you. Your horse should get in the habit of reacting to your cues—instead of looking for something to spook at or focus attention upon. Your horse needs to look at you and think before making a move. That mindset taught now on the ground, will apply to your saddle time in the spring. If your horse knows he needs to look to you first, you’re training him to listen and obey whether you are on the ground or in the saddle. You don’t want a trail horse to look around and react to external stimuli. You want him focused on you and the trail ahead of him. Teaching him to stand still and ground tie will help him stay tuned in to you.
As a bonus, adding in the command to “whoa,” will teach your horse to stop and focus on you—no matter where you are. When you’re on the trail next season, you’ll solidify your horse’s ability to focus on you. If he does spook when you’re riding, you will have a horse that knows that whoa means stop now. You’ll program in a command that may keep him from running off on the trail—and instead he’ll focus on you.
If your horse has been cooped up and confined, you might start with an exercise that allows the horse to move around, but if your horse has been turned out for the day and has moved a bit on his own, this is a great place to start.
This is an exercise you can do most anywhere. You’ll ask your horse to stand still like a statue and not move a hoof. Place your horse where you’d like him to stand then turn and face him—make sure you’re not standing too close. You don’t want to hold your horse still, you want him to know that he must listen and choose to stand still. Stand about 6 feet away and point your toes toward his left shoulder. Make sure you’re not standing directly in front of him, but just off to the left side of his body.
If he moves a hoof or turns his head so that his nose passes his shoulders, issue an immediate correction by sending a wave through the lead line so that it puts pressure on the rope halter. Use the amount of pressure needed to get his attention. Some horses need only a small movement of the rope to remind him to listen.
Your horse will quickly learn that every time he moves a foot without your authorization, he’ll get in trouble. That lesson happens quickly, in the very first session.
When your horse obeys, heighten the challenge. Step farther away and eventually lay the middle of the rope on the ground while you hold the end. When your horse is listening well, you can lay the rope down and teach your horse to ground tie. That’s an invaluable skill on the trail and something that will easily apply to your summer rides when your horse is saddled up.
Want more of a challenge? Ask your horse to stand still when he doesn’t want to—before it’s time for turnout or when other horses are moving into the barn to eat. Your horse needs to listen to you no matter what the horse herd is doing around him. Once your horse knows the lesson, it doesn’t matter how much energy he has-he should stand still when asked.
Even if you only ask him to stand for 30 seconds, you’ll strengthen your relationship as your horse looks to you to know what to do and how to act. Work up to 10-15 minutes of practice a day and you’ll have a horse who can successfully ground tie before spring.
Step 3. Leading Manners
Ground manners are paramount on the trail. You might be riding in an uncontrollable environment. If you one day need to pony a horse, lead line lessons will translate to being able to ride next to another horse. There are also many times when it may be safer to get off and lead your horse across difficult terrain. If your horse knows how to follow you well when you’re leading, it may help you both stay safe on a narrow or cliff-lined trail.
Sequence your cues so that you always do the same thing in the same order. Break down your cues into step 1, step 2, step 3. First you’ll look up and lean your shoulders forward then you’ll move your feet, then he’ll get a pull on the lead if he doesn’t move.
This is an important lesson for you as the handler to practice. If you can understand how to break down your cues and sequence every cue you give your horse, you can apply that skill to any lesson you’d like to teach your horse. When you learn to sequence your aids, your horse will learn and respond very quickly. You’ll build your relationship with your horse over the winter so that you’re ready to teach your horse anything new when you’re back in the saddle. Let’s apply that sequencing to teaching your horse how to maintain a respectful position as you lead him.
Get your horse to focus on your movements and maintain a position by your side—no matter how fast or slow you move and no matter what direction you turn. This is similar to teaching a dog to heal—there is a correct position where he should be and a line that he shouldn’t cross. You don’t want your horse to move into your space or move ahead of you.
Move deliberately and be consistent with your body language. When you start to walk, lean your shoulders forward and use a verbal cue to tell him to walk on. That movement comes before you pull on the lead. Don’t hold constant pressure on the lead, but hold the lead loosely so that your horse learns to follow your body language without expecting a pull. You want to teach him to move with you—not depend on a tight lead line.
Your horse’s nose shouldn’t move past your lead hand and his shoulder definitely shouldn’t move past yours. If your horse crosses the boundary, snap back hard on the rope, turn around and face him, stomp your feet and cause him to back up; admonish with your voice.
Use the amount of pressure that causes the horse to think “what did I do and what can I do so that doesn’t happen again?” Some horses may only need you to turn and look at him with a stern look, other horses may need more pressure and need you to stop, turn and back him up a few steps with authority. If you’re using enough pressure and good timing, your horse will learn the precise place he should be very quickly. If you find yourself constantly pulling or initiating a correction multiple times, check to make sure your corrections are consistent and escalate the pressure slightly and add a verbal admonishment.
Note: Make sure you aren’t pulling back on the lead line to hold the horse back. If you pull on the lead all the time, the horse will forever rely on that pressure to tell him where to be. You’ll constantly have to hold him back. You need to give him the responsibility to keep himself in the proper place.
If your horse doesn’t want to move forward enough and lags behind, you’ll also need to change your body language. When you move your shoulders forward (telling the horse that you’re about to move) then move your feet, your horse should step with you. If you have to also pull on the rope, bring your arms in close to your body and lean forward hard on the rope. Make sure your are not too close to your horse. If you lean forward quickly as a correction (and not as a constant pull) you’ll teach your horse to pay attention to the body language that came first instead of waiting for the pull.
Some people turn and swat the horse with the end of a lead if they don’t move forward. This can be confusing for the horse because you’re actually turning around and changing your direction. If your horse doesn’t move forward, spend more time asking your horse to move forward (especially into the trot) and make sure to lean your shoulders first, start to move, then lean forward into the rope to make the correction. Praise the horse when he moves into the trot then ask him again. Soon he’ll learn that when you first lean forward, he better move or he’ll soon feel much more pressure on the halter.
Escalate the challenge by changing speeds, turning (always moving the horse away from you and out of your space instead of pulling him toward you), then turning at different speeds and degrees. To turn, simply walk toward the direction you want to go. If your horse doesn’t move, pick up your hands and defend your space—waving your hands just behind your horse’s eye without touching him will help him know to move away from you.
Soon you’ll be able to walk in all directions with little to no pressure on the rope and only with your body language. You may even choose to work with a neck rope instead of a halter and lead to test your horse’s obedience while maintaining a way to correct him if needed.
The more you work with your horse over the winter, the more he’ll be focused on you when it’s time for more saddle time in the spring. Plus, you’ll keep up your own horsemanship skills and learn to be aware of how your body position and sequencing of cues helps your horse to learn quickly and easily. With that lesson learned, you’ll be able to teach your horse most anything you’d like to for great trail rides.
For more training tips from Julie Goodnight and to access her free online library, go to www.juliegoodnight.com.
For more information on equine behavior, see Goodnight’s Guide to Great Trail Riding, with bonus DVD, available from HorseBooksEtc.com.
Tying a rope halter can be a challenge. Goodnight says she often sees rope halters tied with an incorrect knot and the excess “tail” aimed toward the horse’s eye instead of his tail. It’s time to practice tying so that you’ll always tie the rope halter correctly.
Take your horse’s rope halter inside and practice haltering a stuffed horse or have your parents hold the halter as if it were on a horse’s head.
Tie the halter knot by bringing the crown piece down through the halter’s loop. Then tie around the bottom part of the loop, making a figure eight appearance and ensuring that the excess strap is pointed toward the horse’s tail.
Need more help? Goodnight’ Guide to Great Trail Riding Book – Speak the Language: Horse Behavior DVD
Speak the Language: Horse Behavior Streaming Video